How to install website speedy on Wordpress?
Posted on 2025-05-29 Updated on 2025-09-20How to Install and Connect WP Website Speedy on WordPress
To install Website Speedy on your WordPress website, Watch this video
Alternatively, you can follow the below steps:
If you are installing WP Website Speedy for the first time on your site, follow these steps:
- Download our Official WordPress Website Speedy Plugin: Download Plugin
- Access your WordPress admin dashboard by navigating to /wp-admin in your browser.
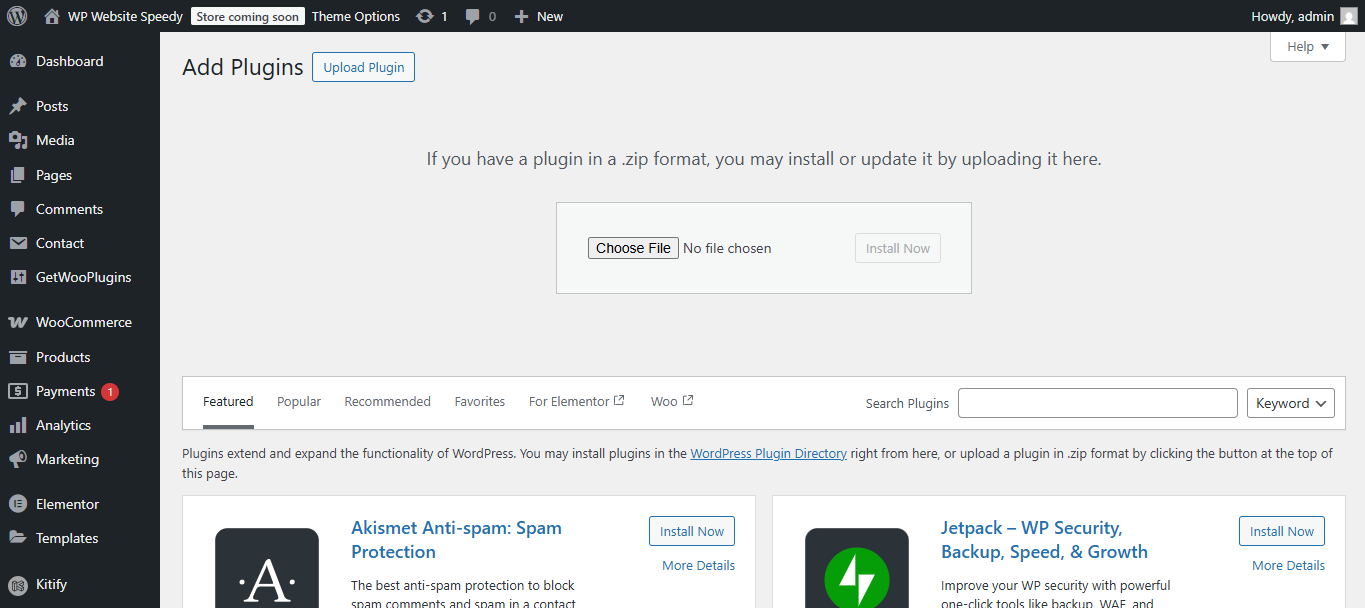
- Go to Plugins > Add Plugin.
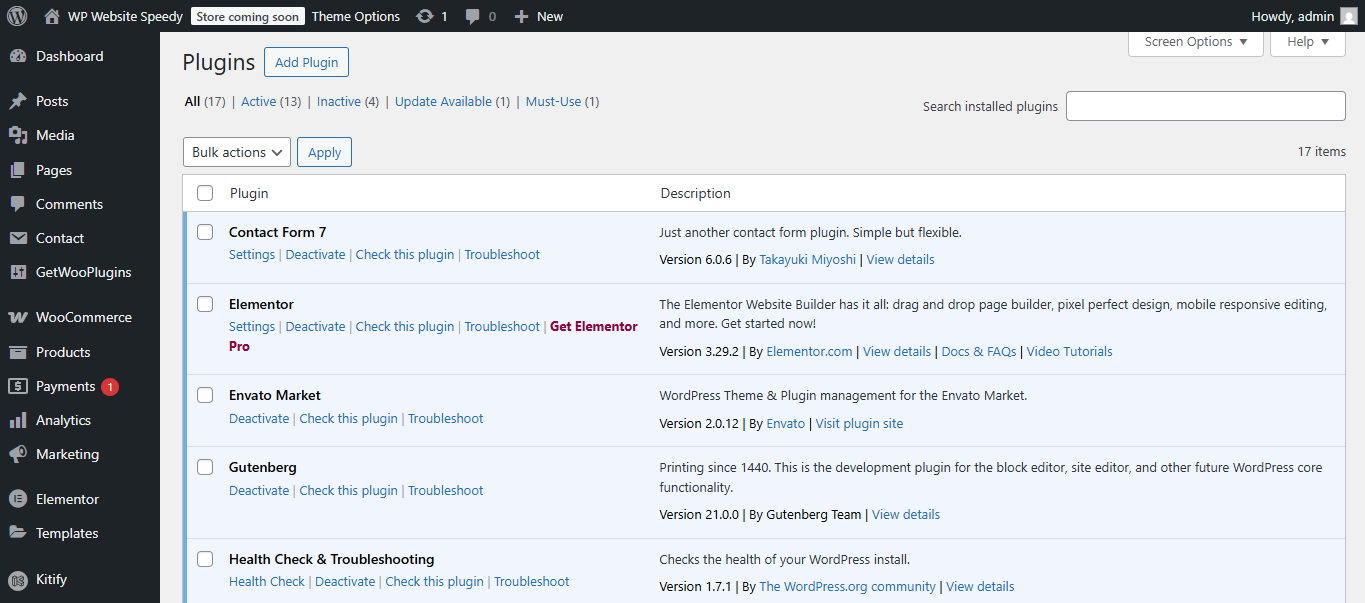
- Add Plugin downloaded .zip file.
- Click Install Now and then Activate Plugin.
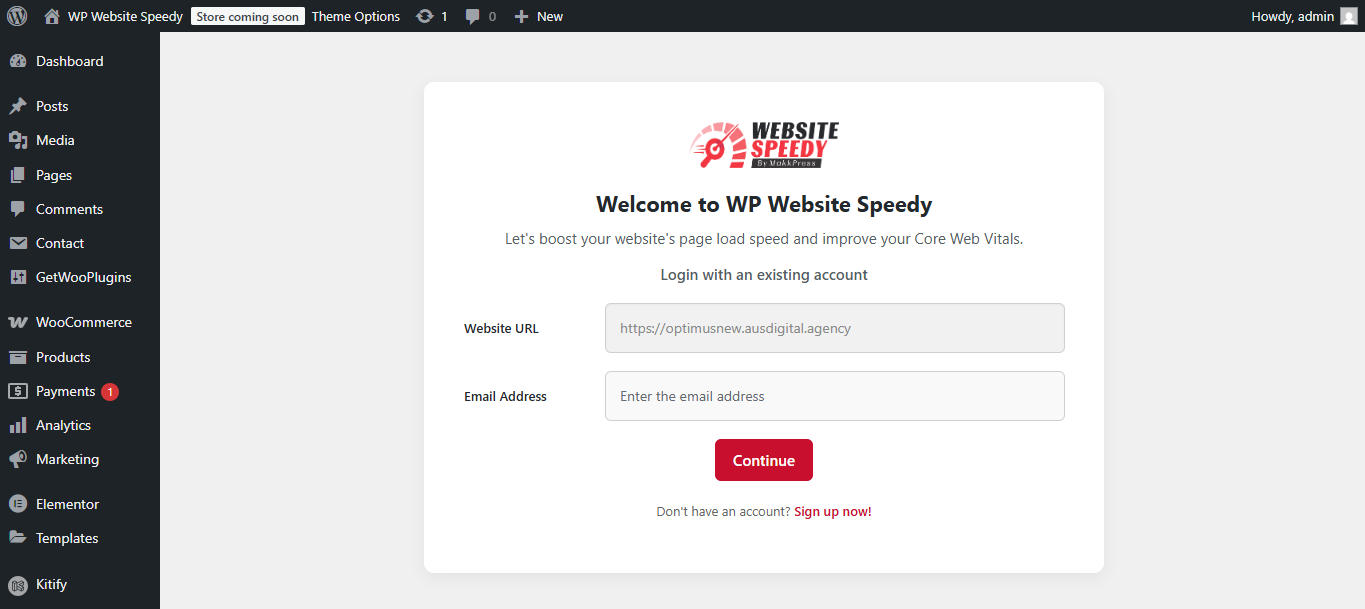
 After activation, go to Plugin > WP Website Speedy.
- Enter your email address and website URL (this is usually auto-filled).
- Click the Continue button to proceed.
Note: If you are a new user and don’t have an account yet, click on Sign up now to create a free account.
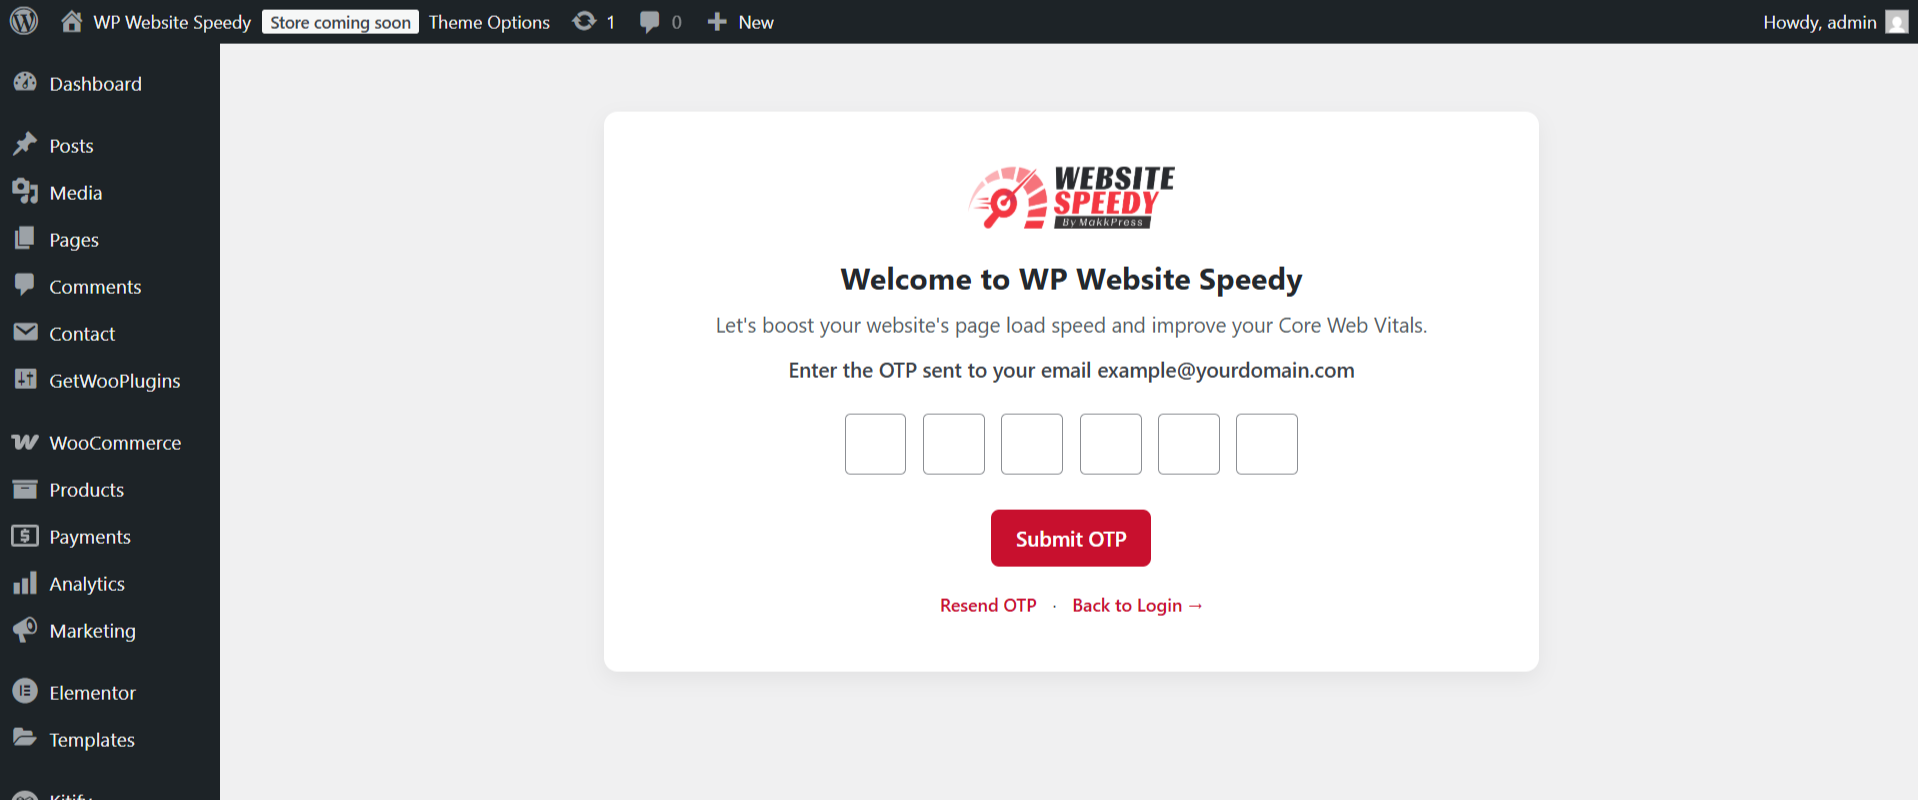
- Enter the OTP (One-Time Password) sent to your email address and Submit it.
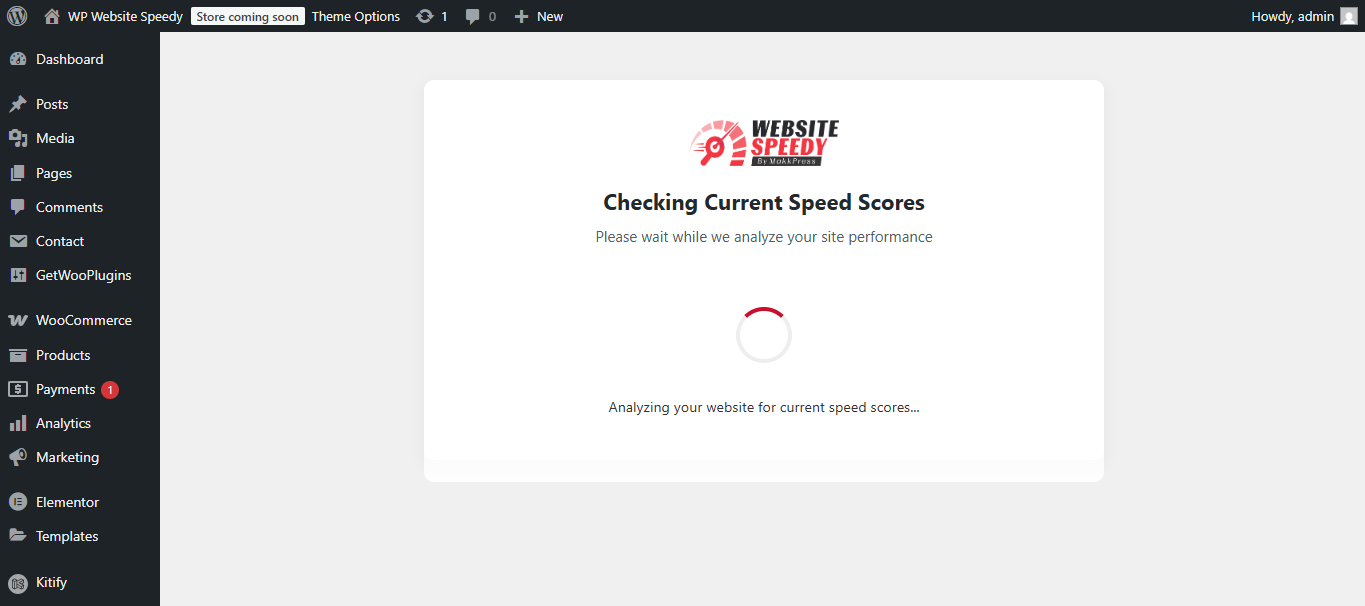
- The plugin will start fetching the current website scores from PSI(PageSpeed Insights) to identify the current performance and optimize it.
Note: This can take a couple of minutes depending upon the size of the website.
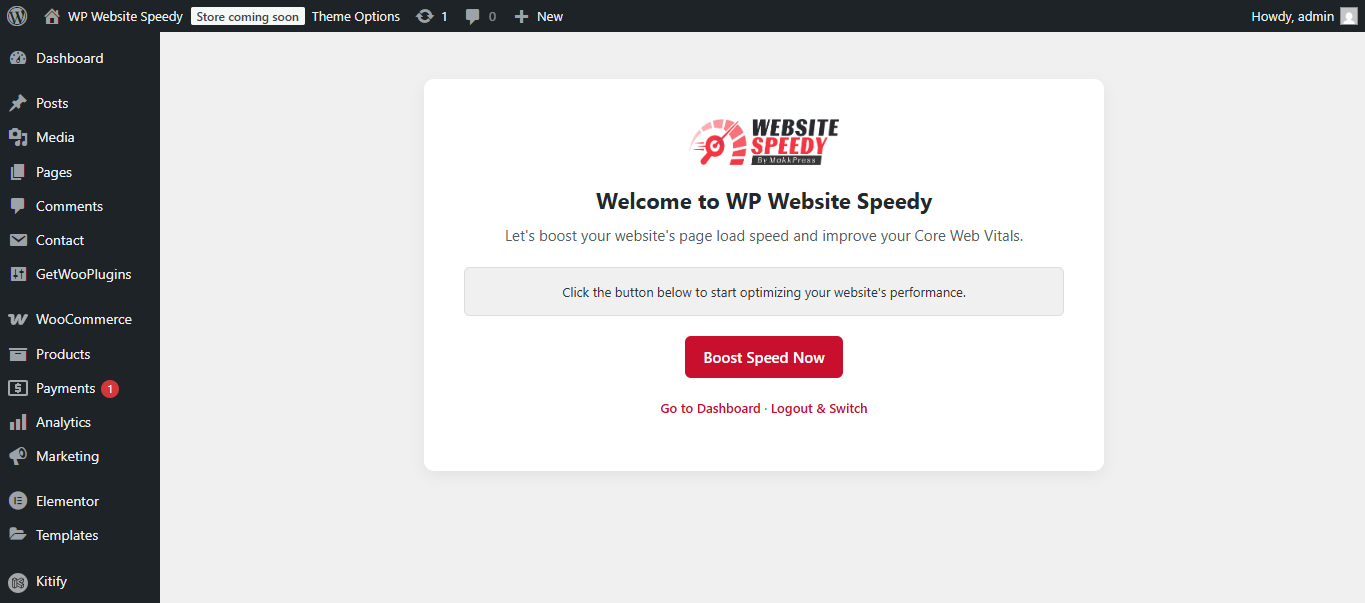
- Click on Boost Speed Now to start Website Speed Optimization
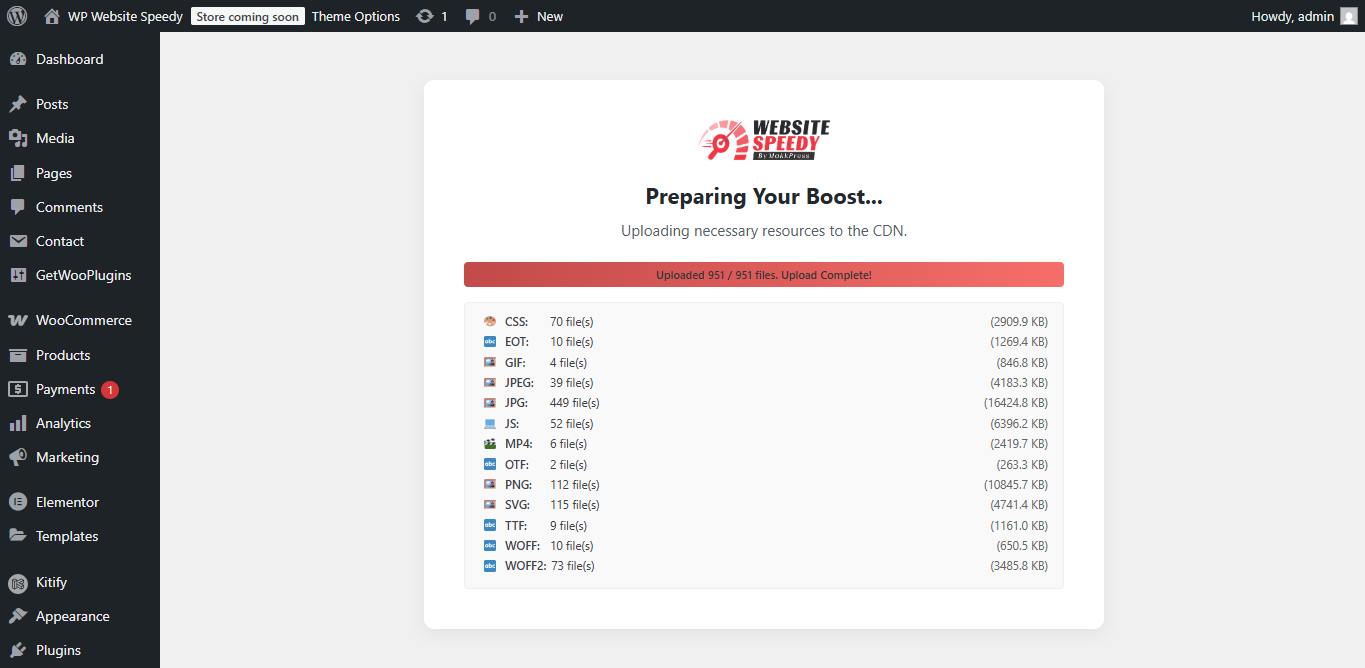
- You will see your website resources getting optimized for faster loading website.
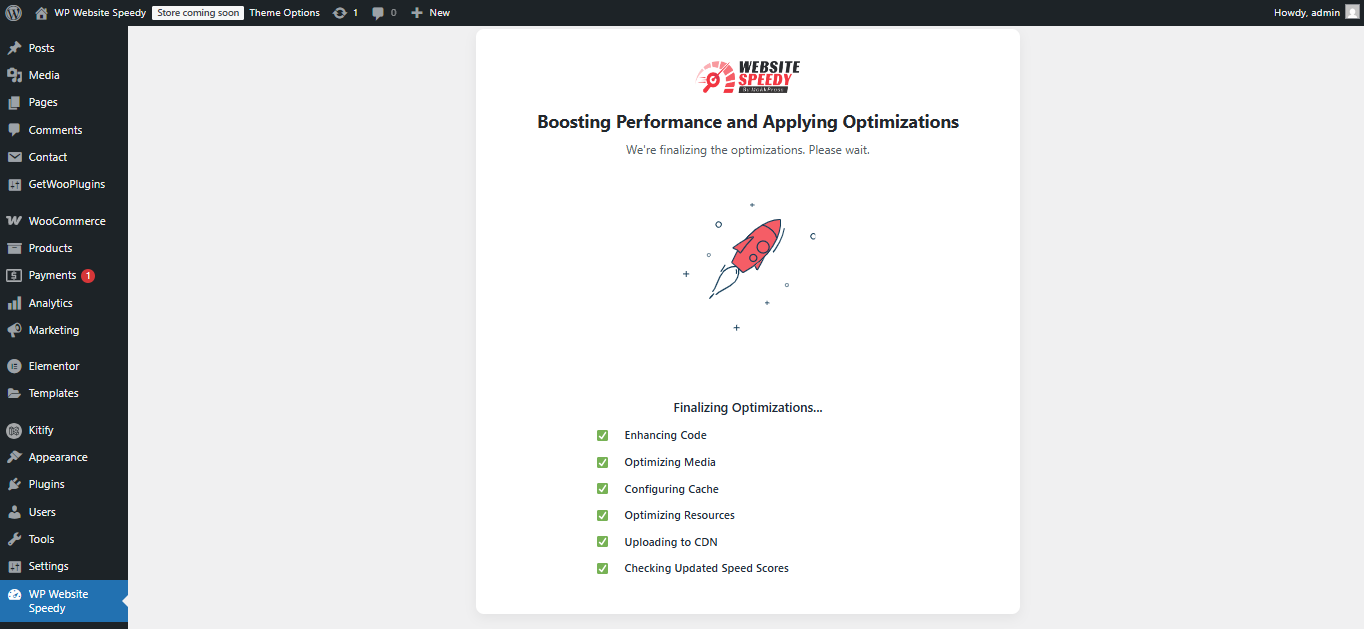
- Once the speed has been boosted, you will see the Before and After scores of the homepage. Click Check Boosted Speed Score to see the Updated the Core Web Vital metrics.
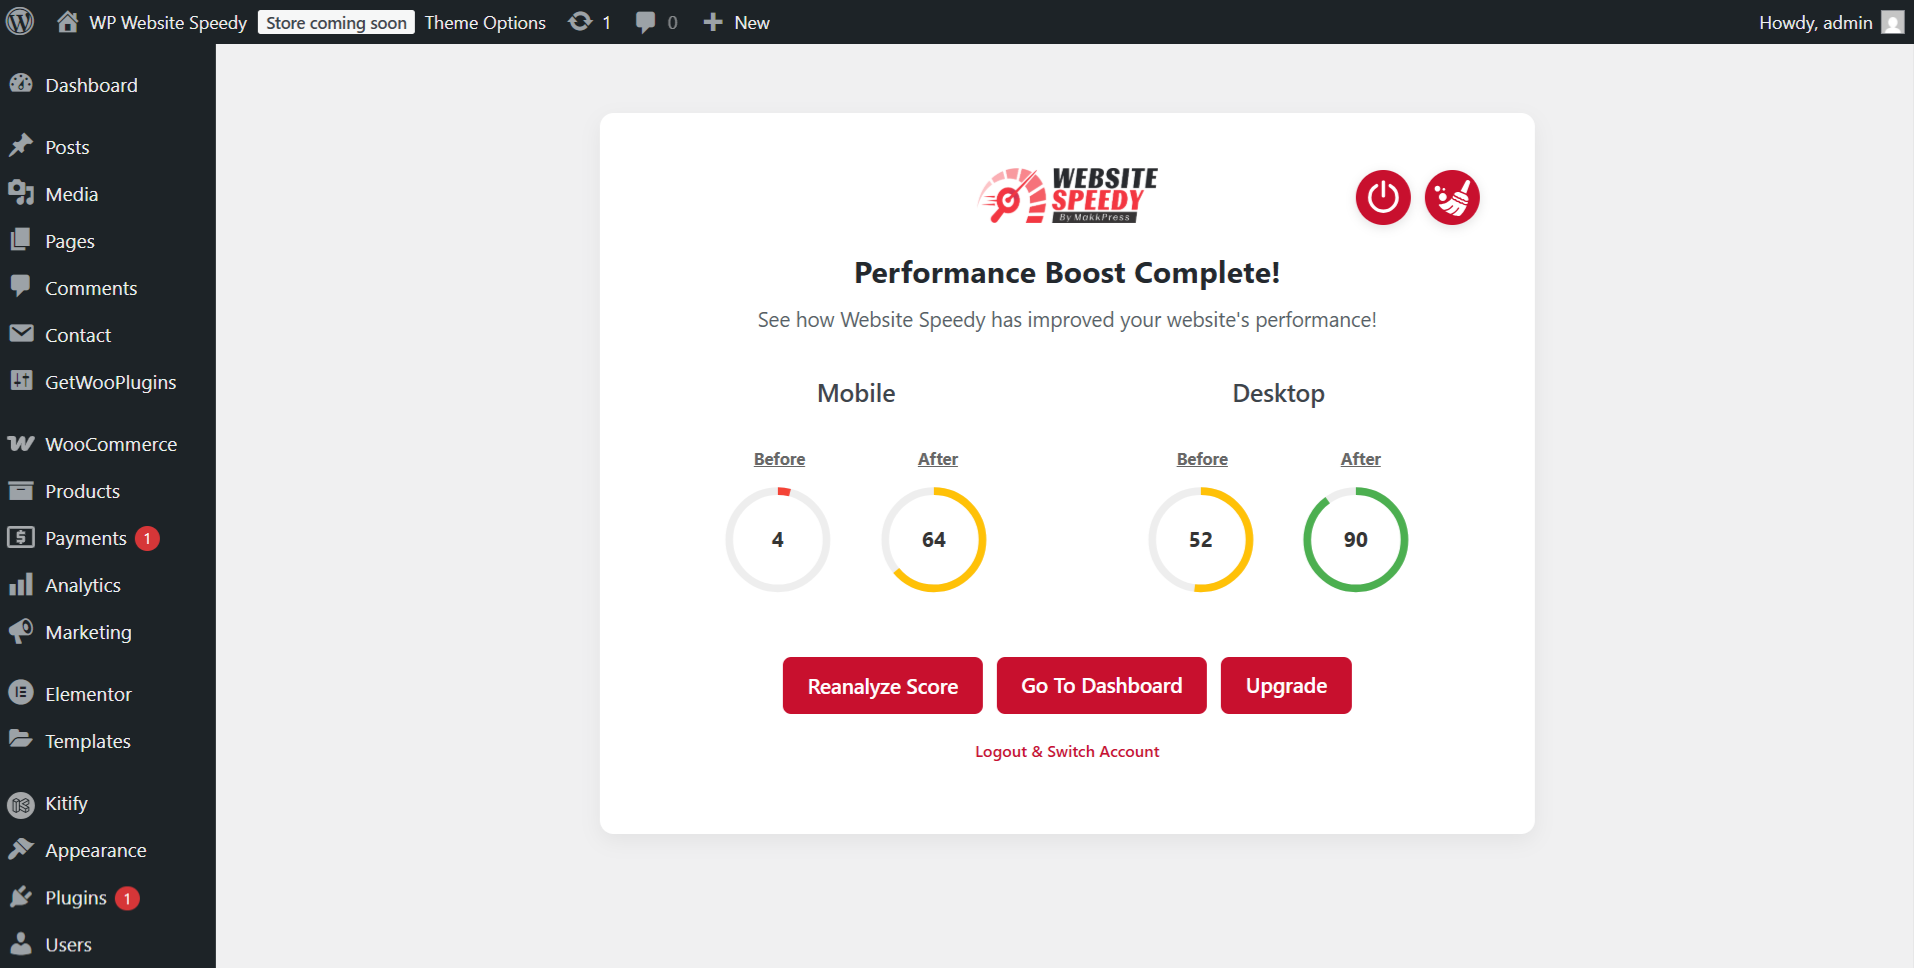
That's it! Your website is now optimized for enhanced speed and performance.
Our Comparison Page guides you on what to measure, so you can objectively evaluate how much Website Speedy has improved your site.
Found this article helpful?
[ 3 Out of 9 Found Helpful ]
