How to install website speedy on PrestaShop?
Posted on 2023-06-19 Updated on 2024-08-01To install Website Speedy on your PrestaShop, there are two ways to do it - via Back Office or Hosting. Follow the steps below:
PrestaShop Back Office Method:
Step 1: Login/Signup to the Speedy website.
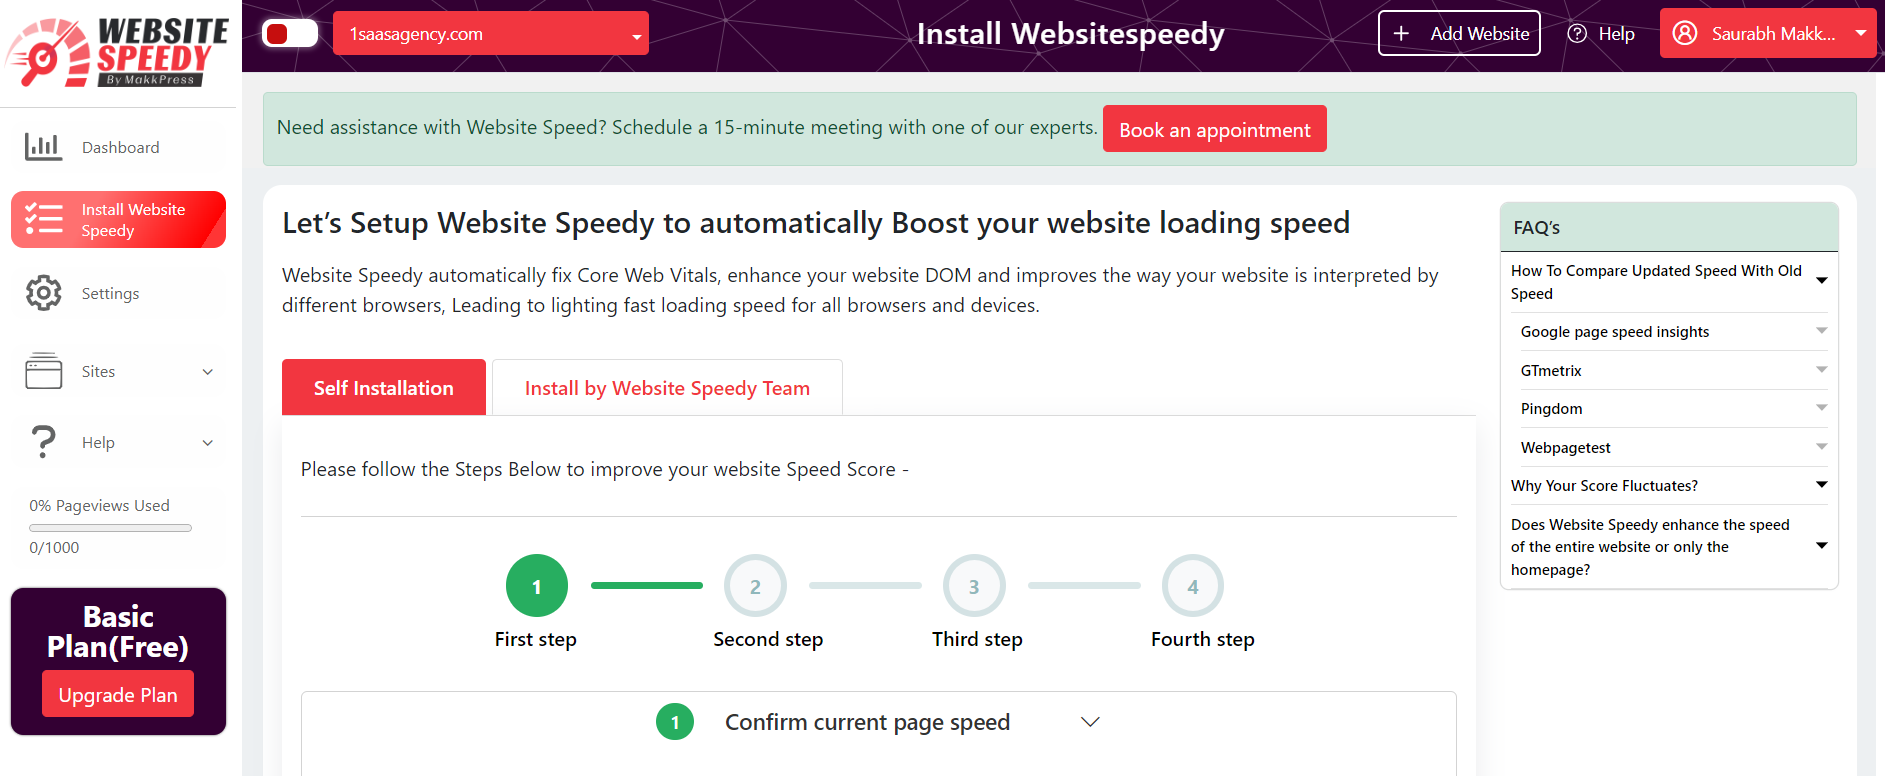
Step 2: Navigate to the left side menu and select the "Install Speedy Website" option.
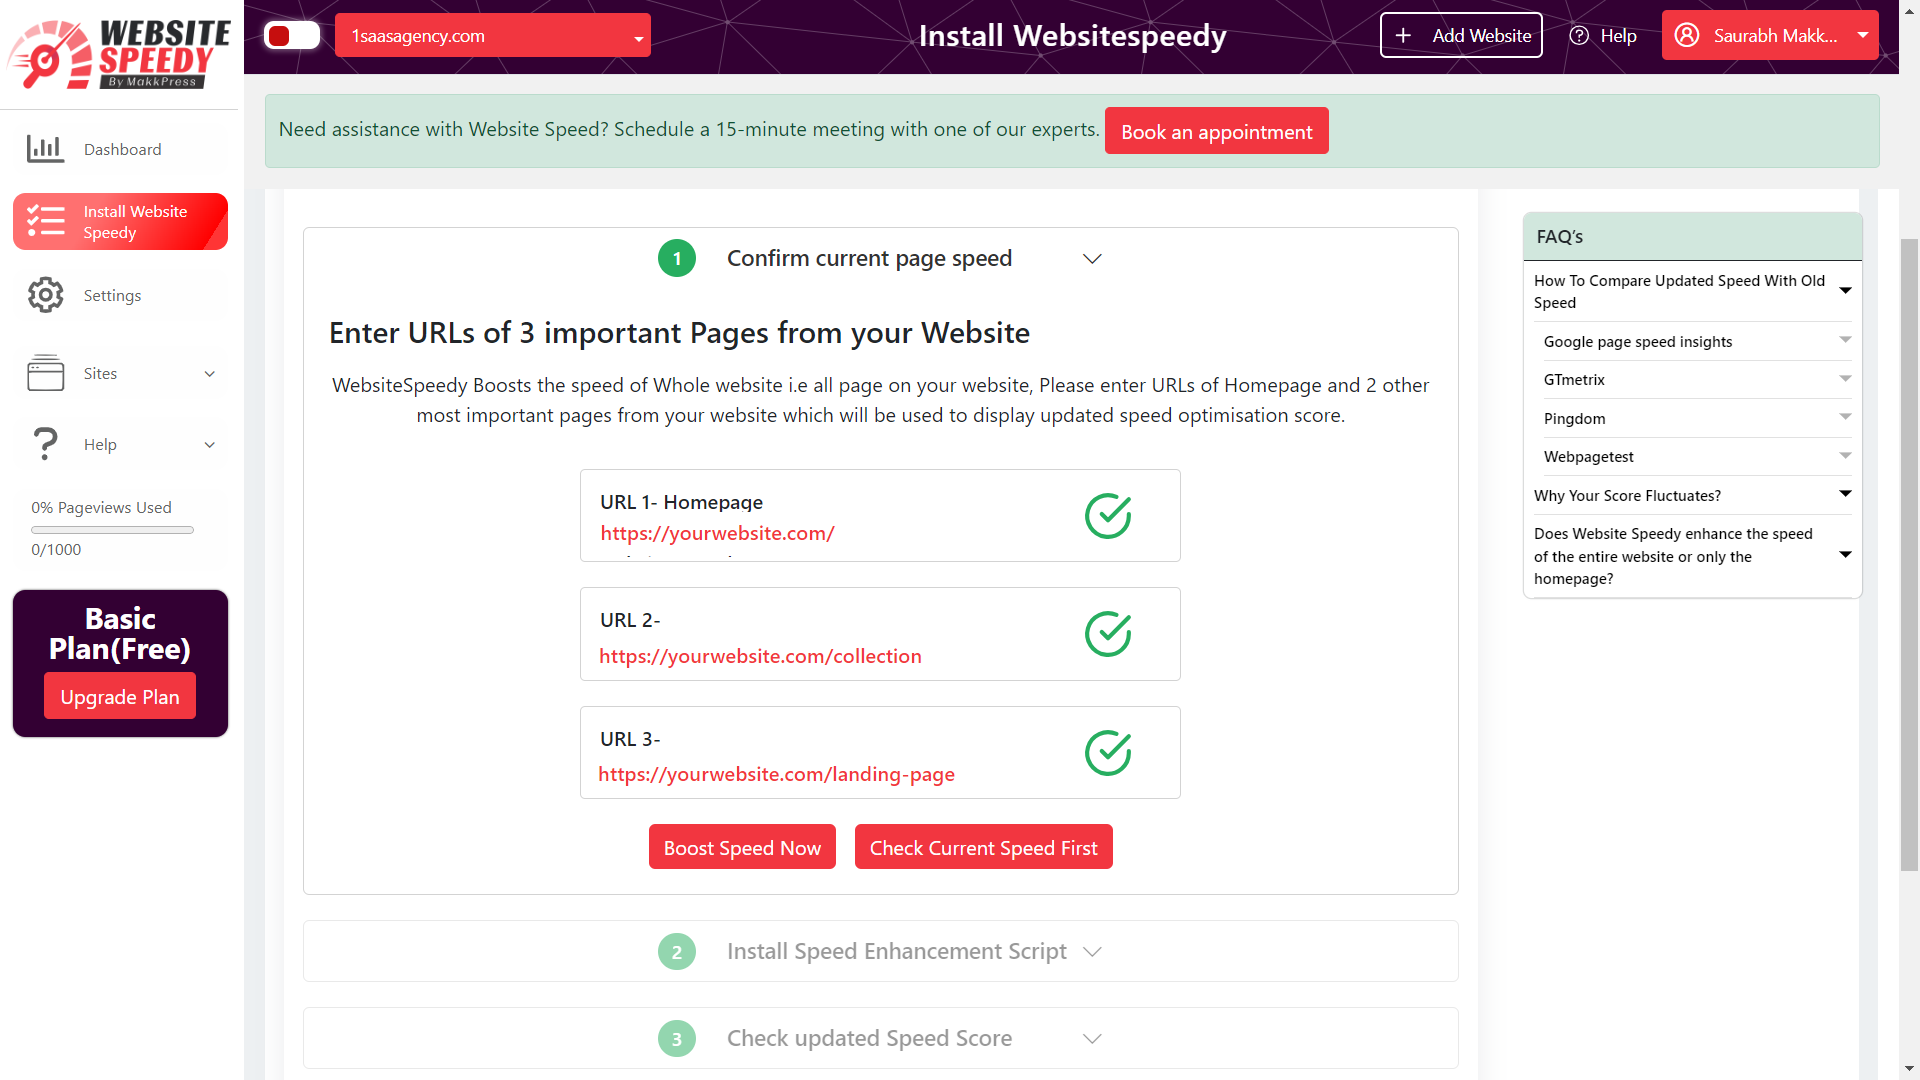
Step 3: In the first step, Enter URLs of 3 important Pages from your Website.
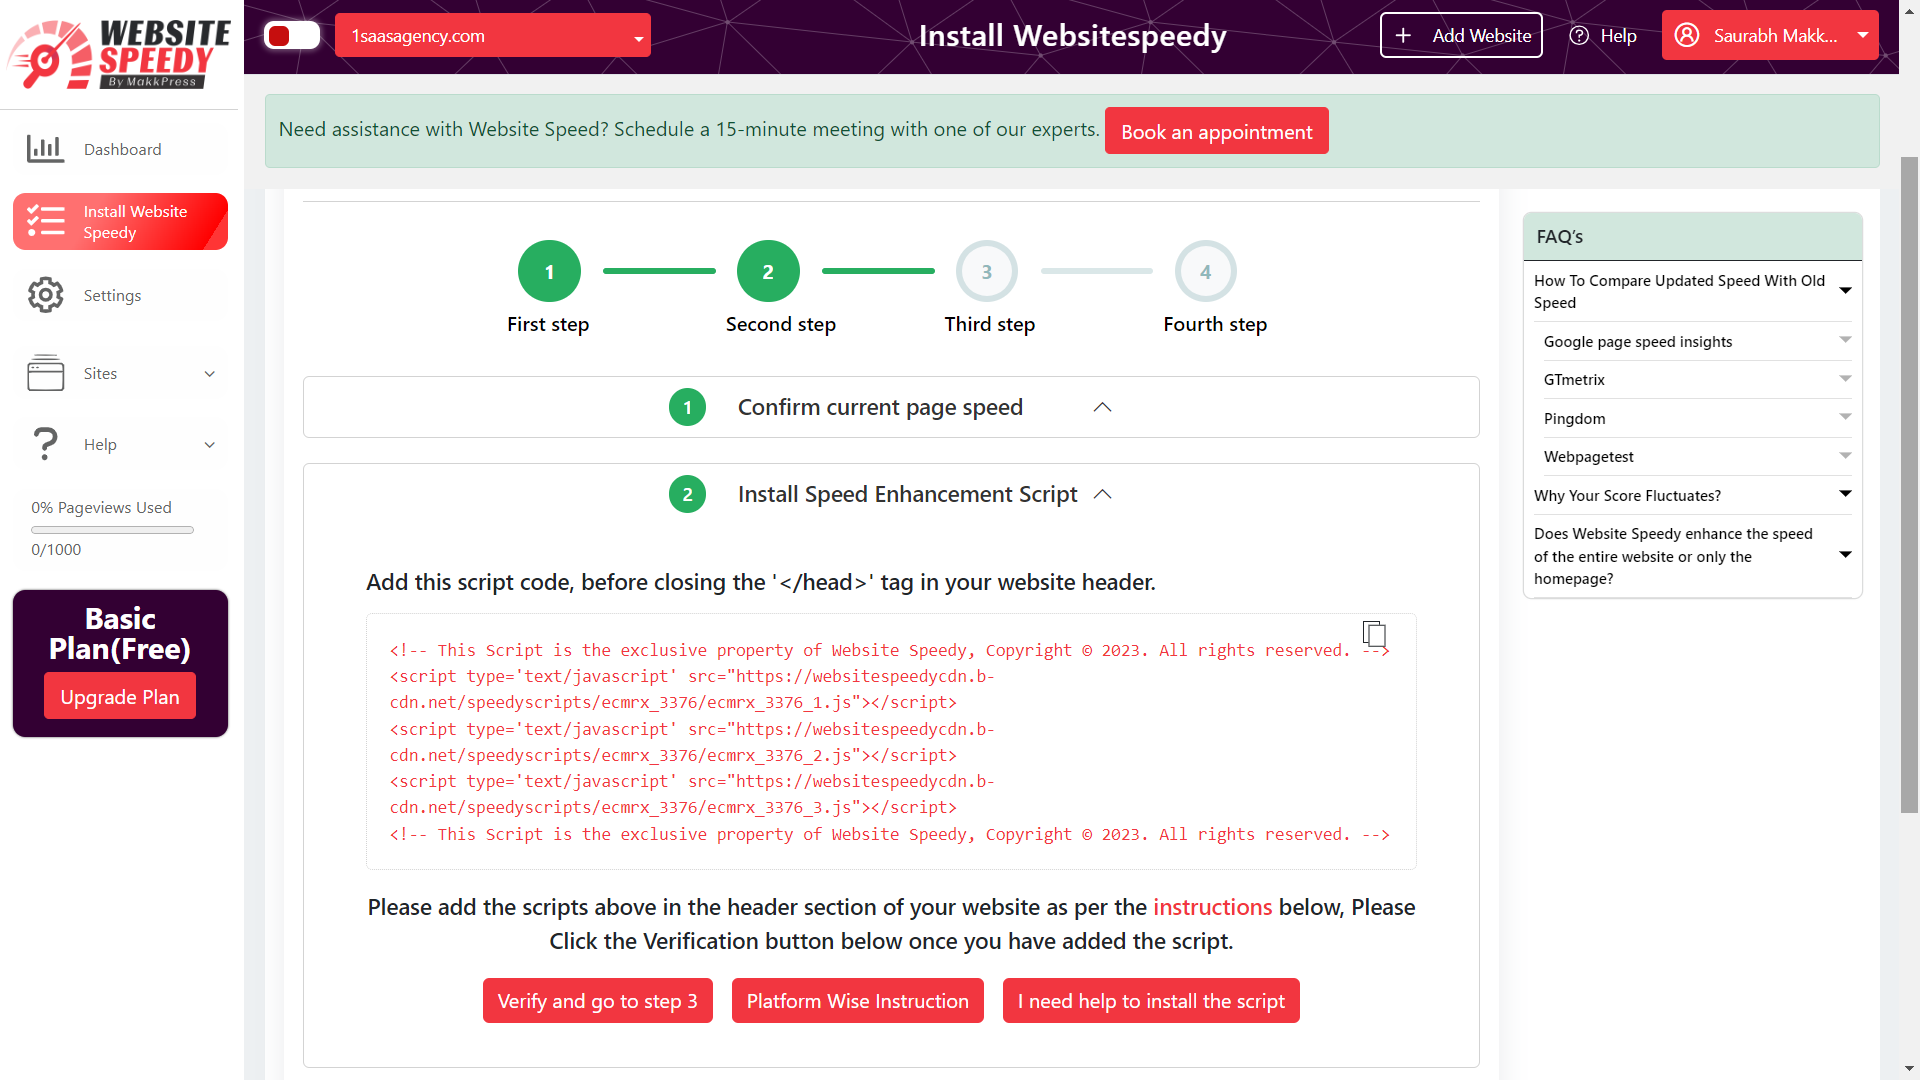
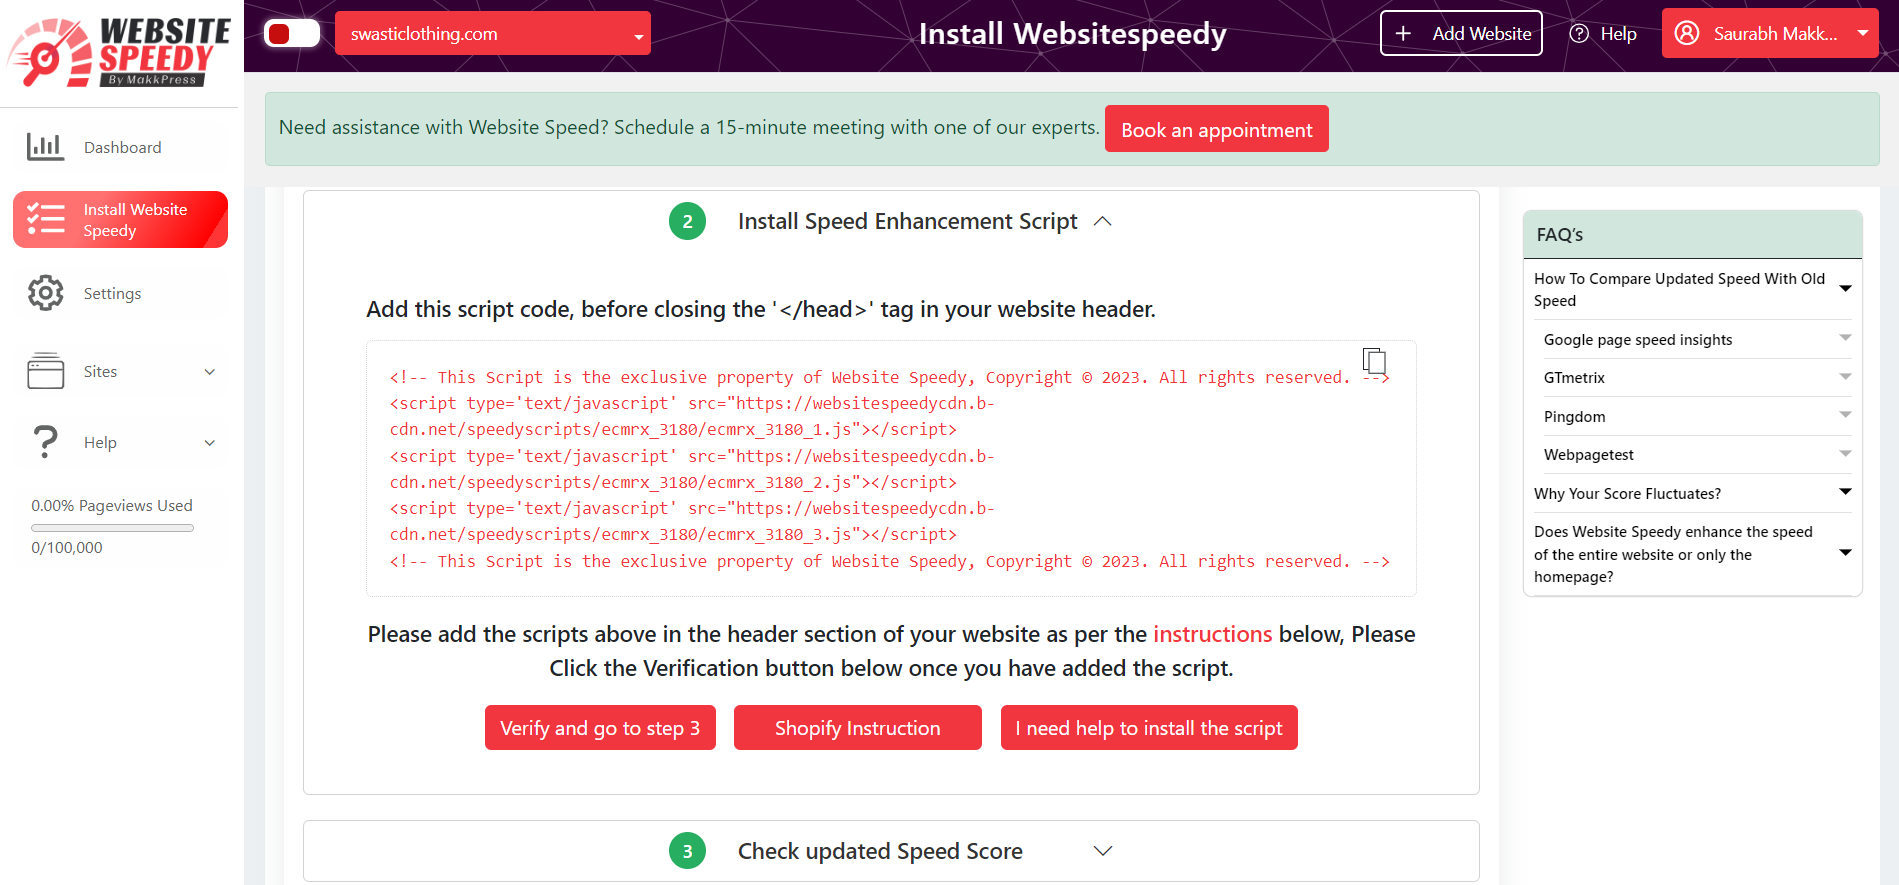
Step 4: In Second Step Install Speed Enhancement Script in your website as per instructions.
Step 5: Log in to your PrestaShop back office.
Step 6: Navigate to the "Preferences" menu and select "Theme & Logo" from the dropdown.
Step 7: In the "Theme" section, you'll find the "Header" field. This is where you can add custom code to the <head> tag of your PrestaShop store.
Step 8: Place the Website Speedy code within the "Header" field.
Step 9: Save your changes by clicking the "Save" button at the bottom of the page.
Step 10: Click the Verification button in Step 2 of Websitespeedy dashboard once you have added the script. for successful integration.
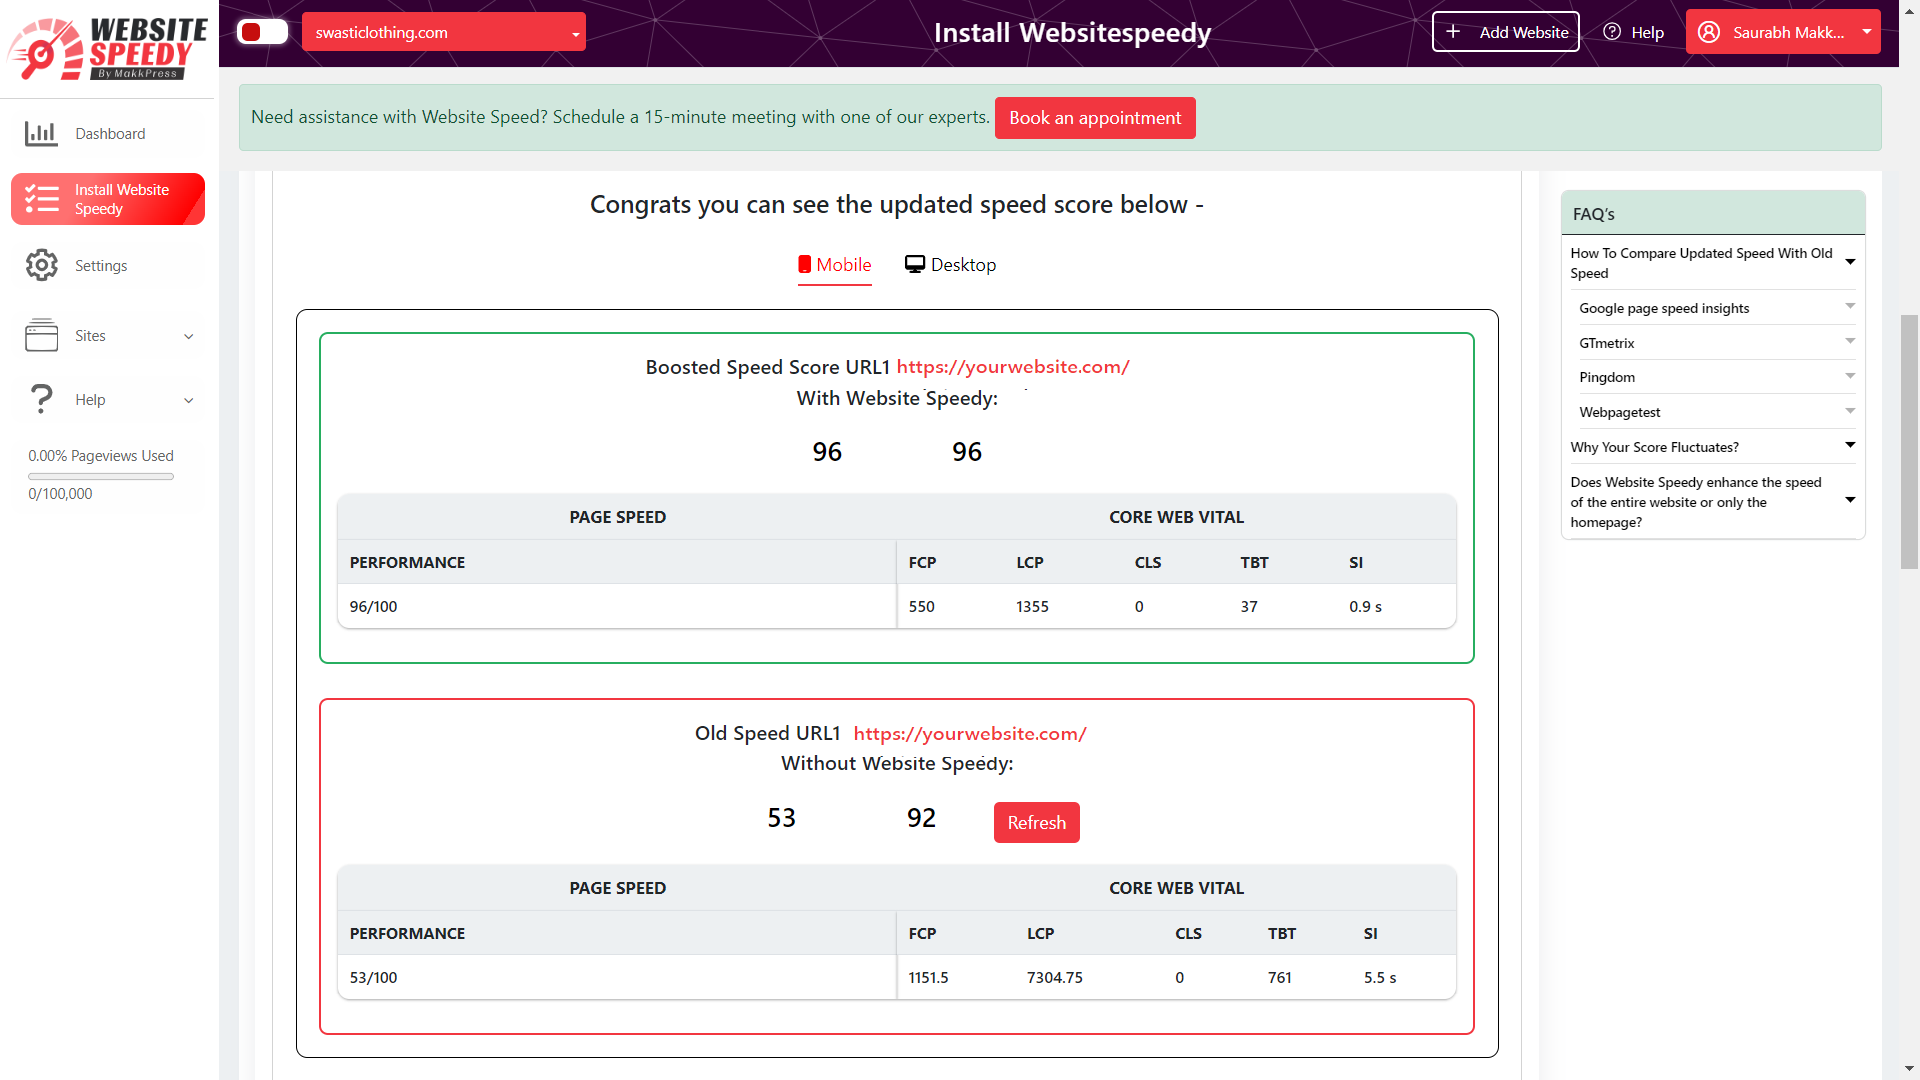
Step 11: Now you can compare side by side performance and speed insights.
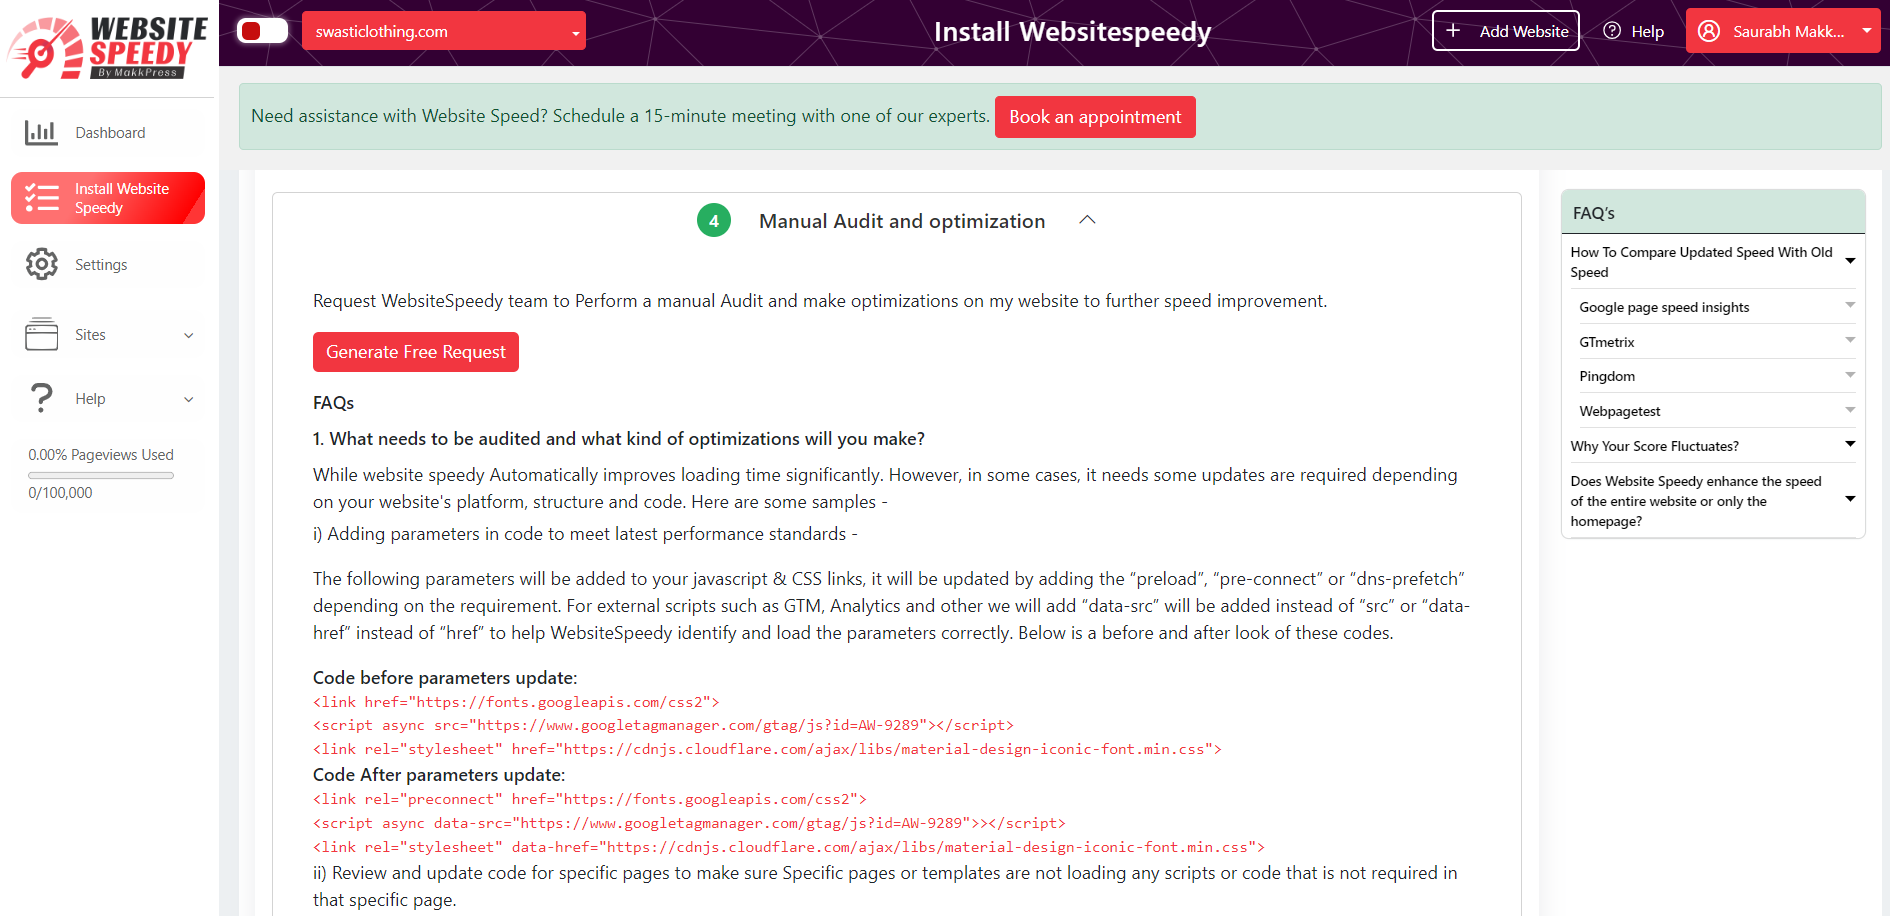
Step 12: Request WebsiteSpeedy team to Perform a manual Audit and make optimizations on your website to further speed improvement.
Hosting Method:
Step 1: Login/Signup to the Speedy website.
Step 2: Navigate to the left side menu and select the "Install Speedy Website" option.
Step 3: In the first step, check the current speed scores of your website.
Step 4: Proceed to the second step to generate loading speed enhancement script and copy the generated script, in the third step.
Step 5: Log in to your hosting account.
Step 6: Navigate to the root directory of your PrestaShop installation.
Step 7: Locate the "themes" directory, which contains the theme files for your store.
Step 8: Inside the "themes" directory, locate the folder corresponding to your currently active theme. The default theme folder is usually named "default" or "classic."
Step 9: Within the theme folder, locate and open the "header.tpl" file using a text editor.
Step 10: In the header.tpl file, find the <head> tag. It typically appears near the top of the file.
Step 11: Add Website Speedy code within the <head> tags.
Step 12: Save the changes to the header.tpl file.
Note: speed might fluctuate depending upon different factors. Read more about speed fluctuating factors here.
Found this article helpful?
[ 9 Out of 21 Found Helpful ]
